Managing vehicle speeds in a commercial parking lot requires choosing the right traffic‑calming device. This article helps facility managers and property owners weigh the differences between speed bumps and speed humps, match options to common lot scenarios, and follow practical design, installation, and maintenance steps.
Understanding speed bumps and speed humps
Though often used interchangeably, speed bumps and speed humps perform differently. Choose the device that matches your lot’s desired operating speed, vehicle mix, and emergency access needs.
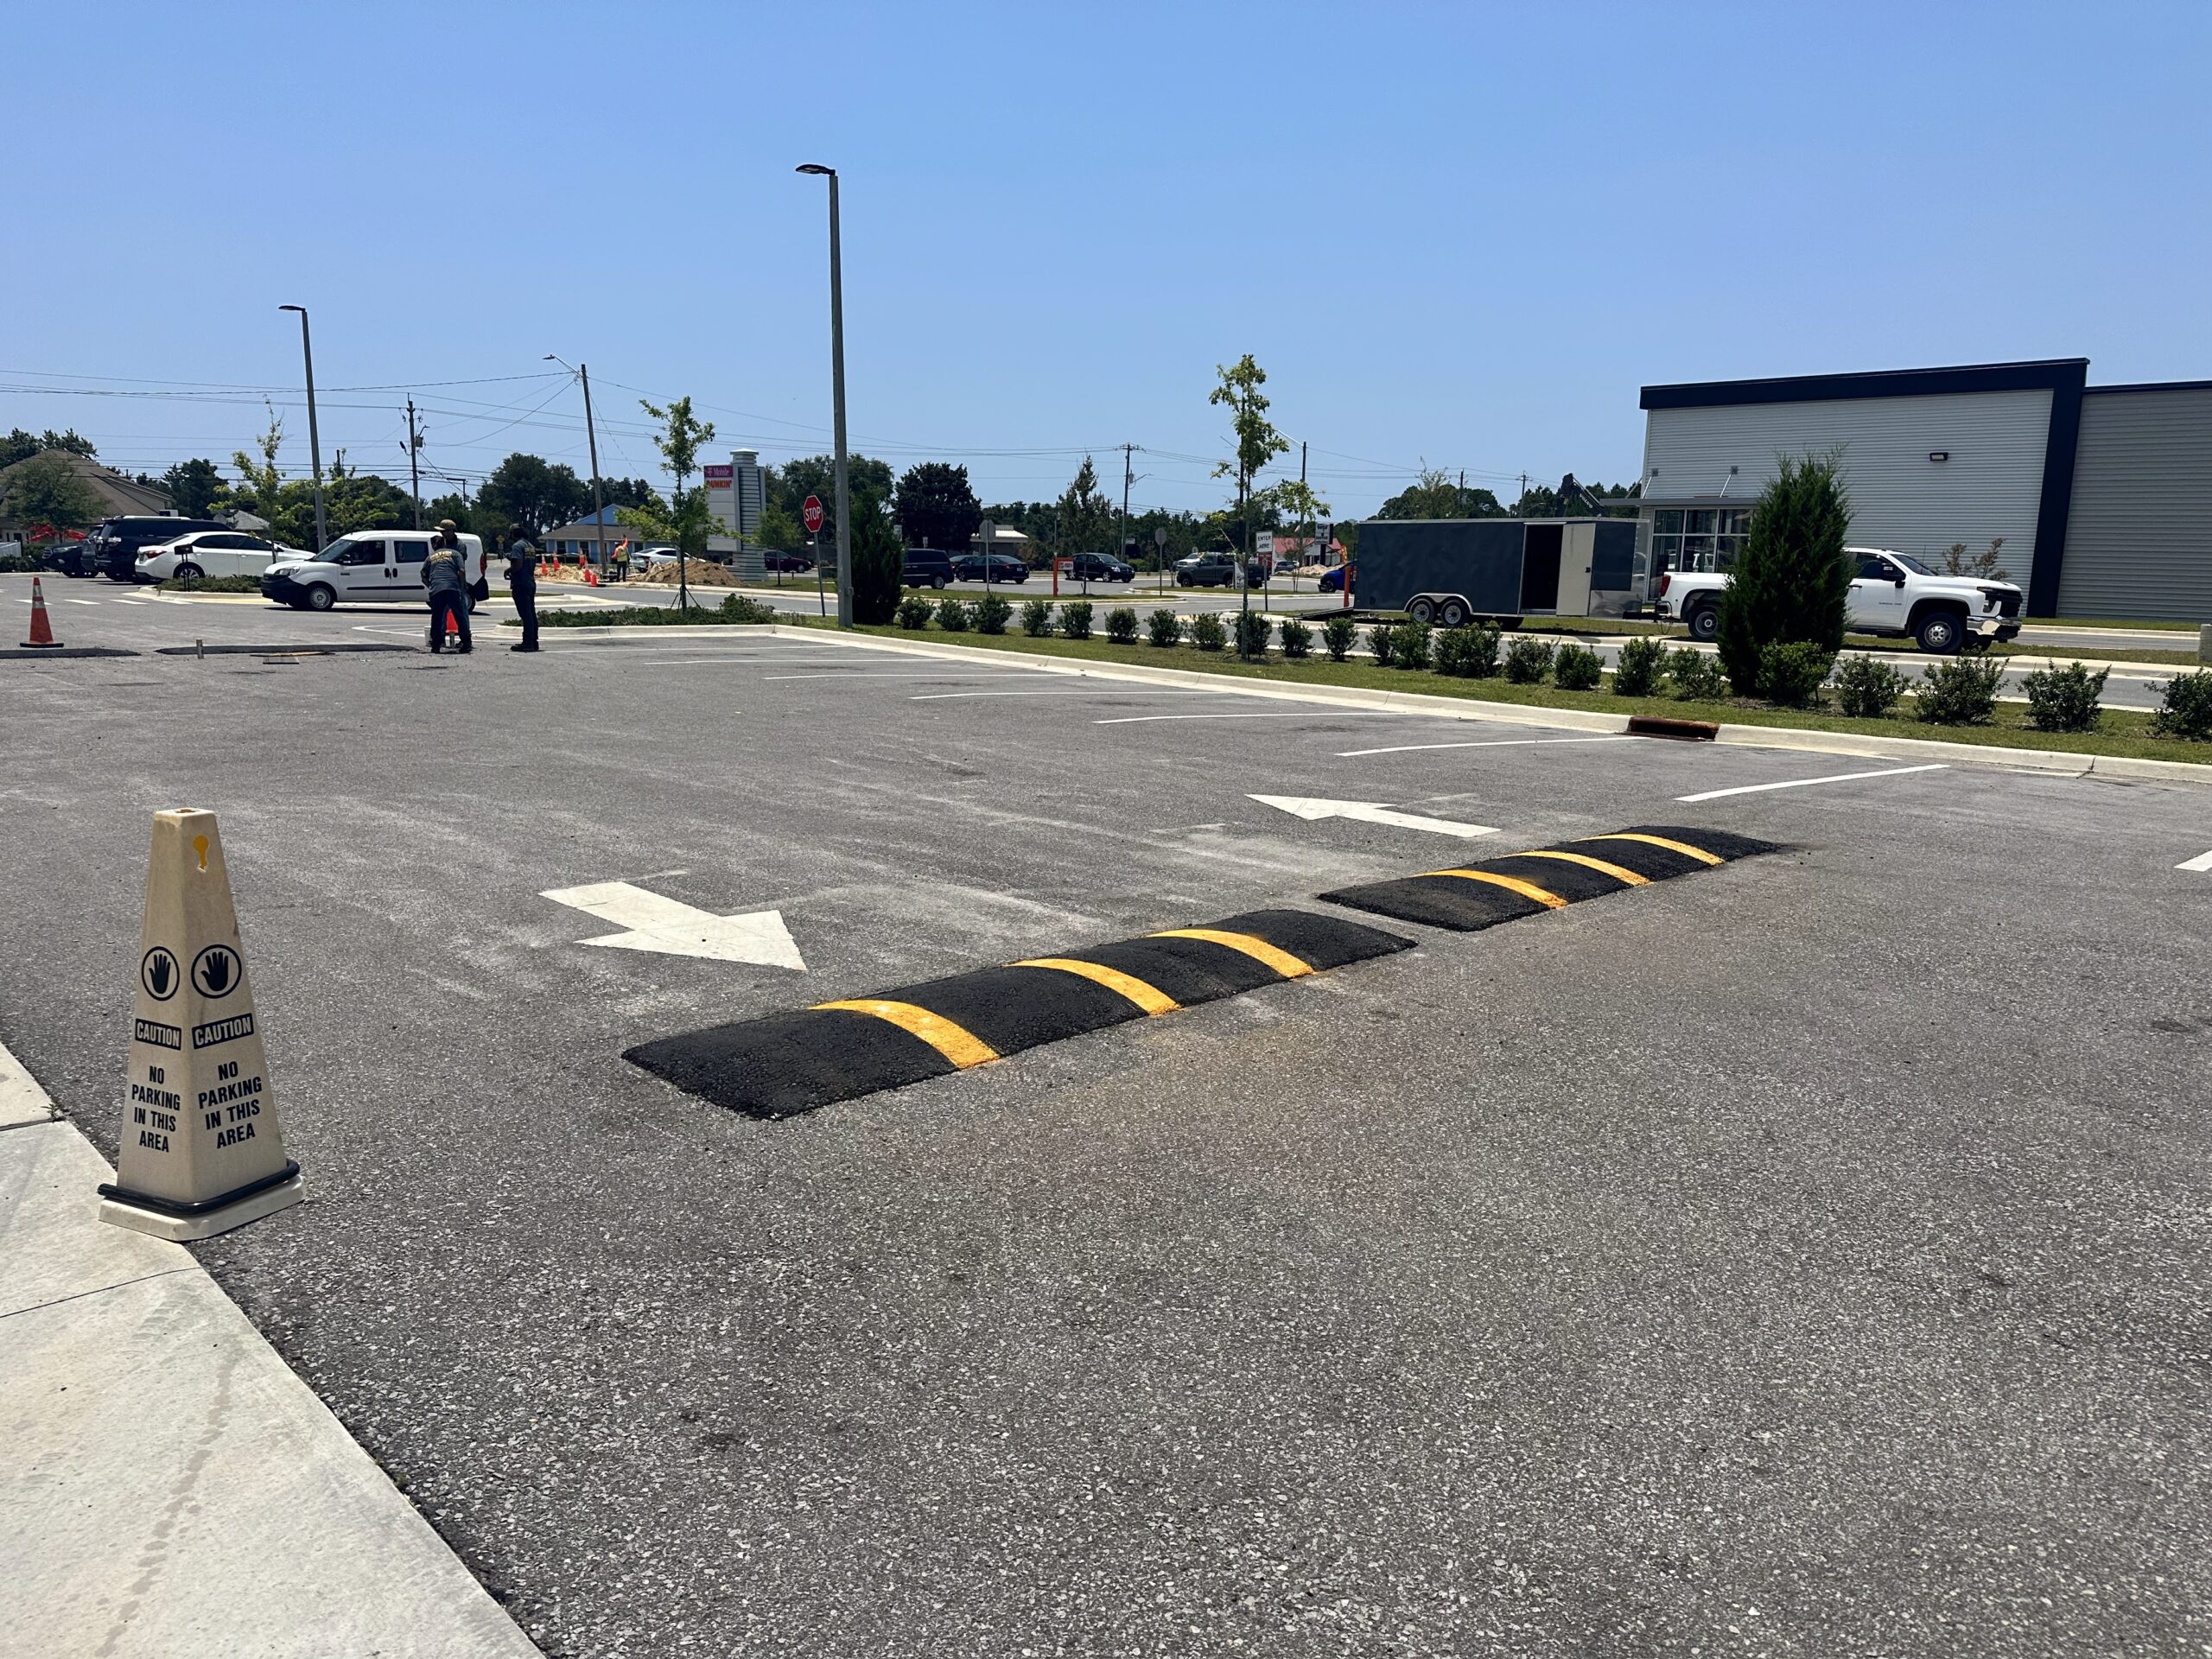
- Speed bumps: Short, steep devices (commonly 3–6 inches high) designed to force near‑stop speeds—common at parking bays, pedestrian crossing approaches, and private drive entries.
- Speed humps: Longer, gentler rises (typically several feet long) that reduce speeds over distance and provide a smoother ride for ambulances, delivery trucks, and regular circulation lanes.
- Quick selection rule: Use speed bumps where you want near‑stop control in short locations (e.g., crosswalk approaches). Use humps where continuous, comfortable speed reduction across a travel lane is needed.
Which solution fits your parking lot?
Assess layout, primary users, and operational requirements using a short checklist to guide the decision.
- Primary users: Customer and employee lots with short walking distances often tolerate bumps; lots with frequent delivery or service traffic typically do better with humps.
- Emergency & service access: Humps are generally less disruptive—consult local fire/EMS and frequent carriers before installing high‑profile bumps.
- Pedestrian safety: Place devices to slow traffic near crosswalks and entrances, but avoid installing raised devices across curb ramp pathways or inside crosswalks where they create accessibility issues.
- Winter operations: Wider, lower‑profile humps are easier to plow and less likely to snag snow equipment than abrupt bumps.
- Drainage & ramps: Don’t locate bumps where they impede drainage flow or conflict with ADA ramp transitions.
Design and placement best practices
Apply practical guidelines so the calming device reduces speed without introducing new hazards.
- Match geometry to purpose: Higher/shorter for near‑stop control; longer/lower for speed reduction across a travel segment.
- Limit frequency: Install at logical decision points (entrances, crosswalk approaches, long mid‑block stretches), not evenly spaced without reason.
- Ensure visibility: Use high‑contrast paint, reflective studs, and advance signage so drivers see devices in daylight and low light.
- Center on travel lanes: Align devices to discourage weaving and guide predictable traffic flows.
- Maintain pedestrian continuity: Keep routes and curb ramps free of abrupt vertical changes and preserve accessible paths.
Materials and installation options
Material choice affects durability, downtime during installation, and lifecycle cost. Pick the type that matches your site’s needs and maintenance plan.
- Modular rubber or recycled‑material units: Prefabricated sections that bolt to pavement—fast to install and replaceable. See CasTech’s modular options and installation examples for speed bumps here: CasTech speed bumps.
- Asphalt or concrete‑formed devices: Permanently integrated into the pavement—more durable but require heavier equipment and curing time. See examples CasTech speed bumps.
- Plastic/composite temporary ramps: Lightweight, semi‑permanent options useful for trial periods, leased properties, or seasonal needs.
- Installation tips: Clean and level the surface, follow manufacturer torque specs for bolted systems, and complete high‑visibility markings and advance signage immediately after installation.
Maintenance and lifecycle checklist
Routine checks and timely repairs keep devices effective, visible, and defensible. Add these tasks to your site maintenance program.
- Inspection cadence: Visual checks monthly and after major weather or plowing events to verify anchors, reflectors, and paint integrity.
- Common repairs: Replace worn modular sections, retighten hardware, and refresh high‑contrast markings and signage.
- Winter prep: Ensure mounting systems are plow‑safe and mark devices for visibility when snow covers the surface.
- Recordkeeping: Track installation details, inspection dates, and maintenance actions to demonstrate proactive asset management.
Safety, liability, and compliance considerations
Coordinate with authorities and document your design decisions. Regulations, emergency access, and accessibility requirements should shape the final layout and materials.
- Check local regulations: Municipal codes may govern dimensions, required signage, and permitted locations—verify before installation.
- Engage emergency services: Notify or consult local fire and EMS to confirm designs will not impede response operations.
- Protect accessibility: Maintain clear, compliant pedestrian routes and avoid creating trip hazards across walkways.
- Manage liability: Use clear signage, do regular inspections, and keep thorough records of compliance reviews and maintenance.
FAQ
Will speed bumps damage delivery or emergency vehicles?
Properly selected and installed devices minimize damage risk. Humps are gentler for through routes. Confirm dimensions with frequent service providers and emergency responders before installing high‑profile bumps.
How many devices should I install in a lot?
There’s no universal number. Base placement on lot geometry and traffic patterns—typical locations include entrances, crosswalk approaches, and long uninterrupted stretches. A targeted, site‑specific approach is safer and more effective than blanket spacing.
Can I install temporary devices while testing a layout?
Yes. Lightweight plastic/composite ramps or modular rubber sections are useful for trials. Temporary devices allow you to evaluate driver behavior and maintenance impacts before committing to permanent construction.
How should I respond to complaints about noise or ride comfort?
Review device geometry and placement; higher or shorter bumps produce harsher ride and more noise. Consider converting to humps, reducing height, or relocating the device to a less intrusive point while maintaining safety goals.
Next steps: checklist and when to call CasTech
Use this quick checklist to move from assessment to installation, and contact CasTech when you need expert selection, installation, or maintenance support.
- Walk the site: mark likely device locations, crosswalks, and emergency routes.
- Measure lane widths and traffic speeds during peak and off‑peak times.
- Consult local fire/EMS and check municipal regulations before finalizing geometry.
- Choose material and mounting type based on durability and maintenance capacity.
- Plan inspection and maintenance intervals and record them in your asset log.
For examples of modular and permanent solutions, professional installation, or to request a quote or site assessment, see CasTech’s speed bump solutions and services: CasTech speed bumps. Our team can help evaluate your lot, recommend geometry that meets local requirements, and provide installation and maintenance options.
If you’re ready for a site assessment or want a written quote, start with the service page above, and our team will guide the next steps.